You could say that it's a crazy hybrid approach to art photography, but it's also convenient with great results. I've been shooting film, having the lab digitize it when it's processed, then printing the images with my inkjet printer using Photos for macOS and Red River Paper card stock. And they look different than anything I've created in the past.
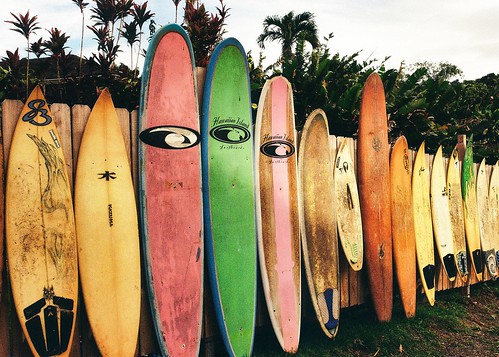 "Surfboards, Maui" Scanned version - Contax 159MM, Zeiss 28-70mm, Kodak ColorPlus 200 film. Photo by Derrick Story.
The workflow is easy. I shoot the film (which is fun in itself) then send it off to the lab for processing and scanning. I don't get lab prints, just the negatives and the scans.
Once everything comes back from the lab, I look at the negatives on a light table. I do this for a couple reasons. First, I can really tell how well I did by looking at the film under the loupe. It's just me, celluloid, and optics. I also check for light leaks and other potential issues that I might need to be aware of with how the camera is working.
I then look at the scans. This is the fun part for me, because it's my first viewing of the images in positive format. As with any film project, sometimes I'm happy, sometimes I'm sad.
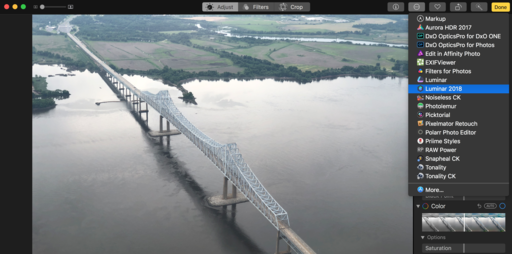
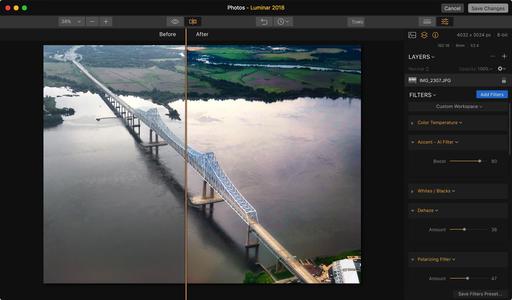
I tend not fiddle around with the images much in post production. I want to retain as much of their raw analog quality as possible. If I do have to touch them up, I can use the editing tools in Photos for macOS, or the Luminar 2018 editing extension. Lots of power with these options, and they keep me in my easy workflow.
Then it's time to print. I've been using Red River Paper Matte Card Stock for the output. It's beautiful paper that comes scored, making it easy to fold to 5"x7" finished size. I also purchase my envelopes for the cards at RRP.
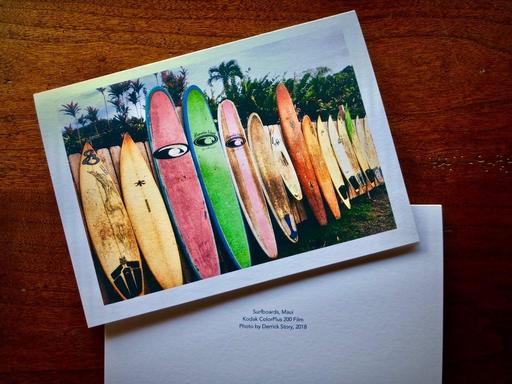 "Surfboards, Maui" Printed version using Red River Paper card stock and Photos for macOS with an inexpensive Canon wireless printer. Image by Derrick Story.
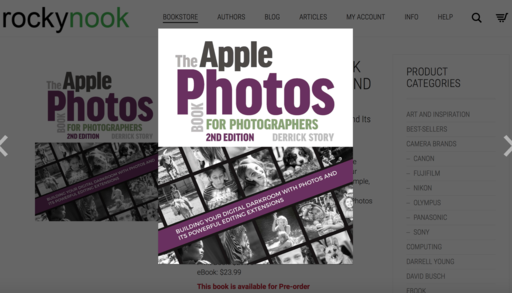
In my book, The Apple Photos Book for Photographers, 2nd Edition, I explain how to use the Card tool in Photos to generate your own fine art greeting cards. All of your work is saved as a project in Photos, so you can go back anytime and pick up where you left off, or print more cards.
For my printer, I used an inexpensive Canon PIXMA Wireless Photo Printer ($69) that couldn't be easier to operate.
As for the final product, these cards look different than anything I've created before. The combination of analog film with modern inkjet technology is truly unique. And the fact that I can manage the entire effort in Photos for macOS keeps it all so very simple.
New Photos for macOS High Sierra Training!
Is it time for you to learn the ins and outs of the latest version of Photos? Take a look at Photos for macOS High Sierra Essential Training on LinkedIn Learning, or on lynda.com. Maximize your iPhone photography and complement the work you do with your mirrorless cameras as well. You'll love your cameras even more...
Also be sure to check out my new book, The Apple Photos Book for Photographers, 2nd Edition. It's completely up to date!
You can share your thoughts at the TDS Facebook page, where I'll post this story for discussion.
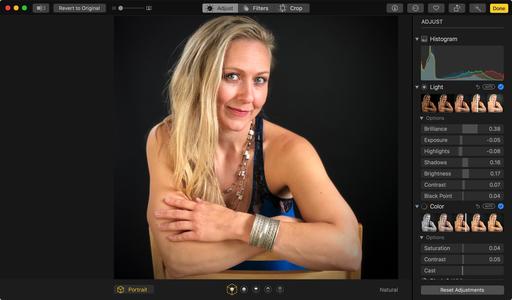 "Jessica" - This image was captured with an iPhone X in Portrait Mode, then opened in Photos for macOS. All of my Portrait Mode options are available, as illustrated here. Photo by Derrick Story.
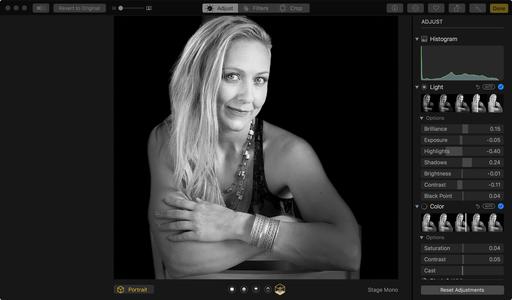 Same image, but now I've switched to Stage Mono Portrait Mode.
provides you with the latest tips, techniques, and workflows for Apple's photo management and editing application. Get your copy today!
